
https://docs.unity3d.com/kr/2021.3/Manual/AnimationOverview.html
애니메이션 시스템 개요 - Unity 매뉴얼
Unity는 풍부하고 정교한 애니메이션 시스템을 탑재하고 있습니다. ’Mecanim’이라고도 하는 이 시스템은 다음을 제공합니다.
docs.unity3d.com
-unity 애니메이션 시스템은 애니메이션 클립의 개념에 기반을 두고있다. 이 클립은 애니메이션 컨트롤러라는 구조화된 플로우차트 같은 시스템으로 정리된다. 애니메이션 컨트롤러는 "상태머신"역할을 한다.
-애니메이션은 리타겟팅이 가능하다.
https://docs.unity3d.com/kr/2021.3/Manual/Retargeting.html
휴머노이드 애니메이션 리타게팅 - Unity 매뉴얼
휴머노이드 애니메이션 리타게팅은 메카님의 가장 강력한 기능 중 하나로 동일한 애니메이션 세트를 다양한 캐릭터 모델에 비교적 편리하게 적용할 수 있게 해줍니다. 리타게팅은 모델의 골격
docs.unity3d.com
https://docs.unity3d.com/kr/2021.3/Manual/class-Transition.html
애니메이션 전환 - Unity 매뉴얼
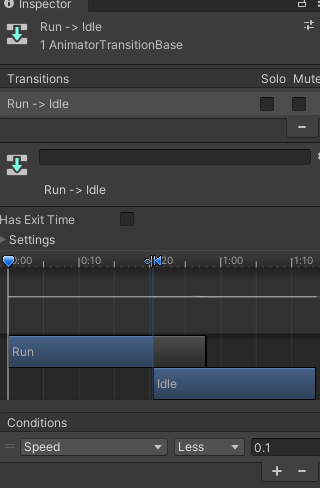
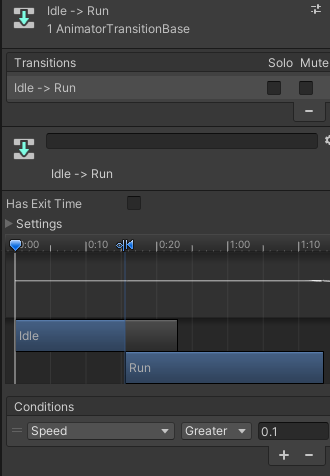
애니메이션 전환(Animation transitions)을 사용하면 상태 머신이 하나의 애니메이션 상태에서 다른 애니메이션 상태로 전환하거나 혼합될 수 있습니다. 전환은 상태 간의 혼합이 가져야 하는 기간뿐
docs.unity3d.com
Collistion Detection
-Discrete vs.Continuous
Input.GetAxis()
-
+)
private으로 변수 선언됐을떄 => 코드에서 어디에서 쓰여야 하겠다!
public => 인스펙터에서 값을 할당해야겠다!
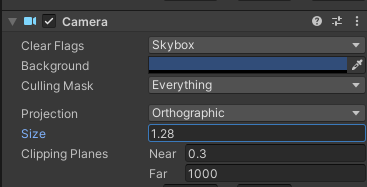
-Camera Size를 조절할 수 있다.(줌인 줌아웃)
-pixel per unit
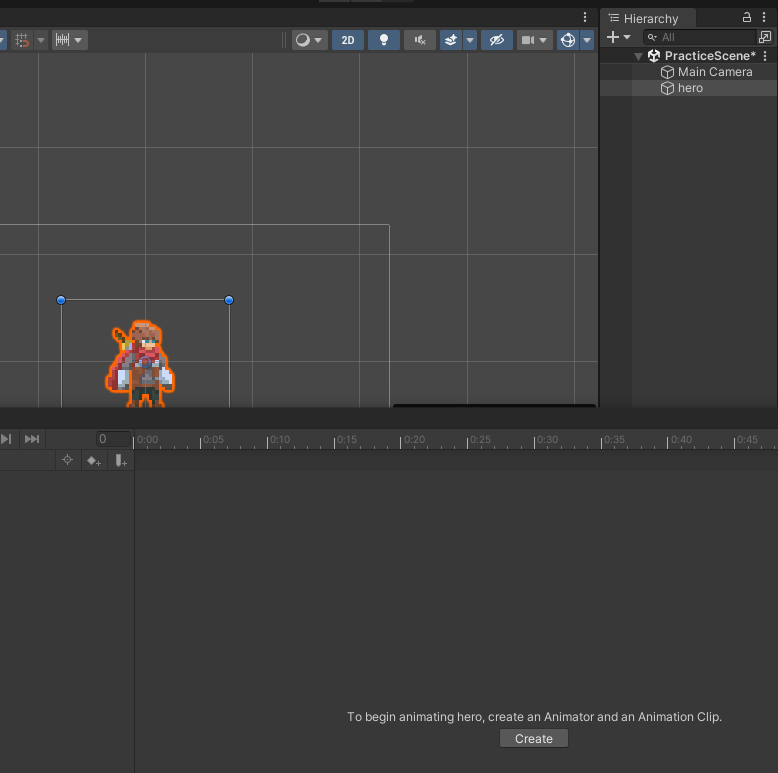
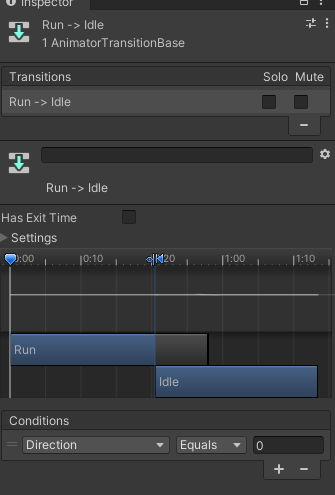
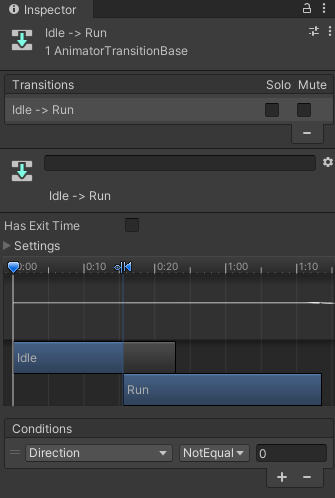
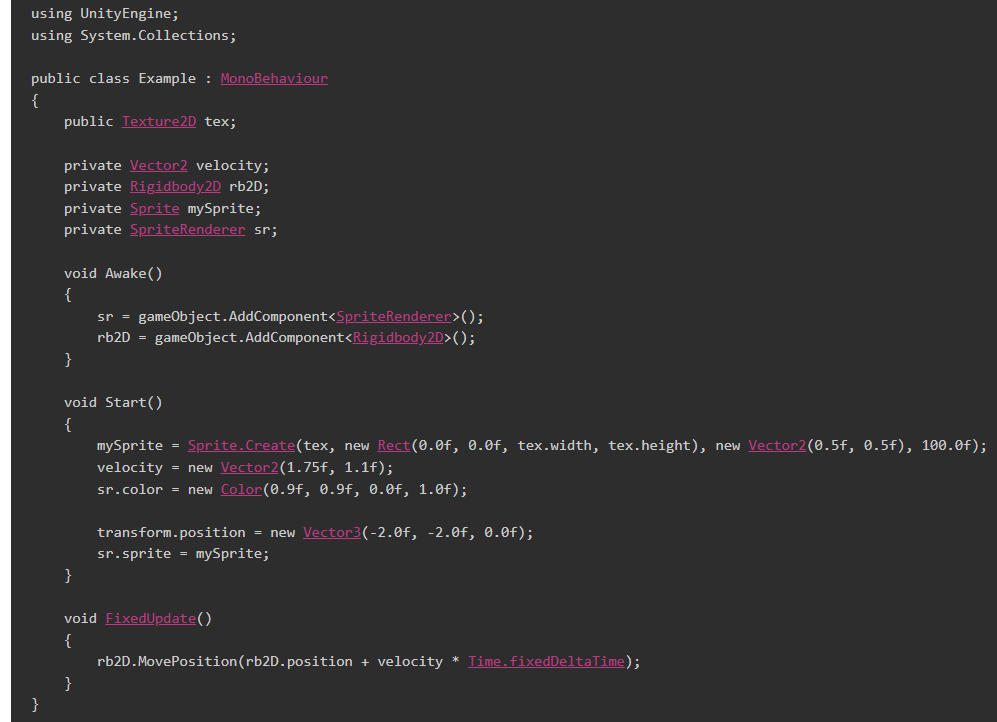
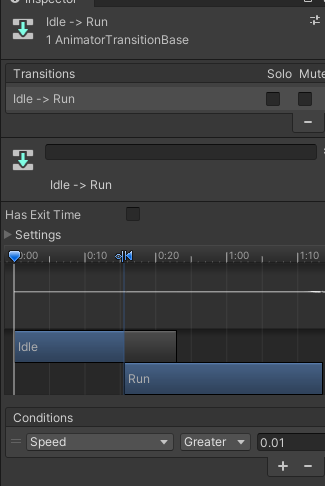
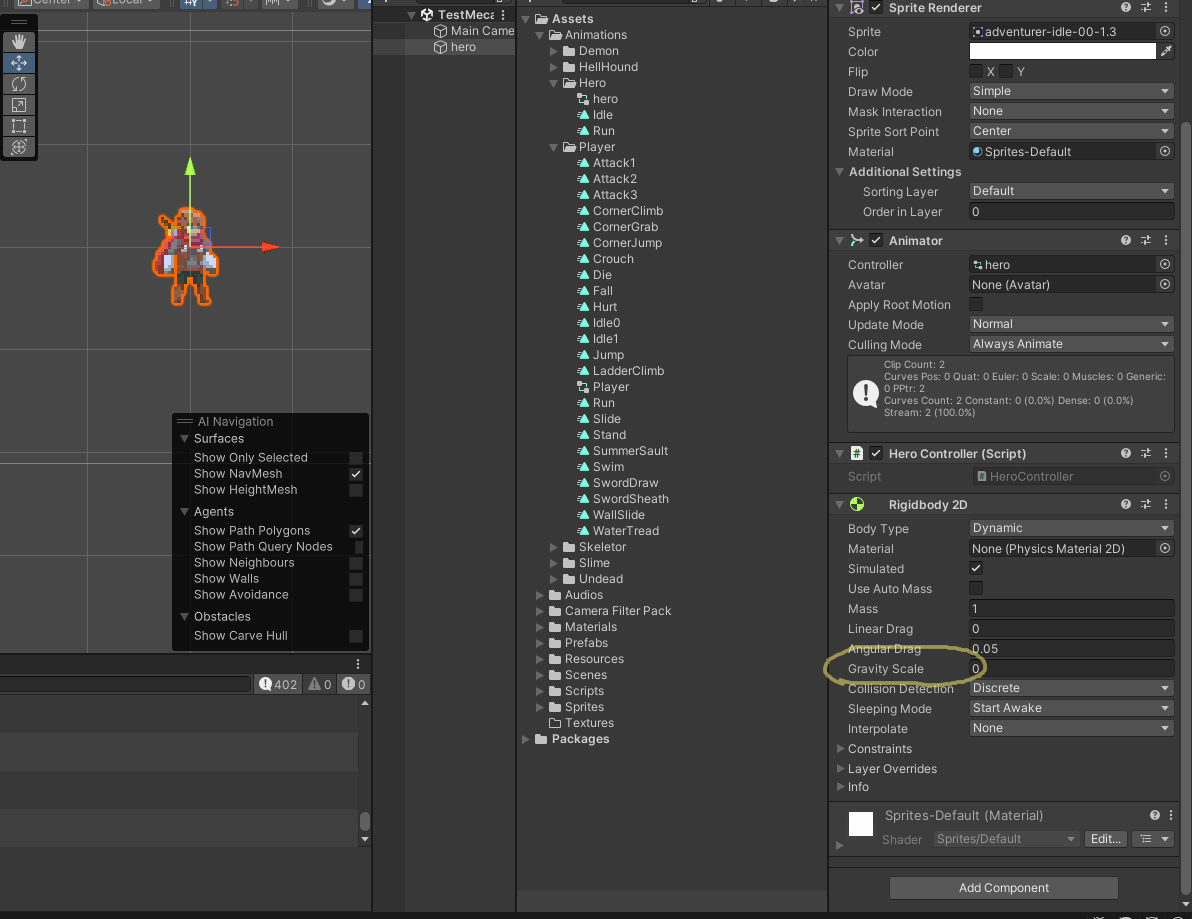
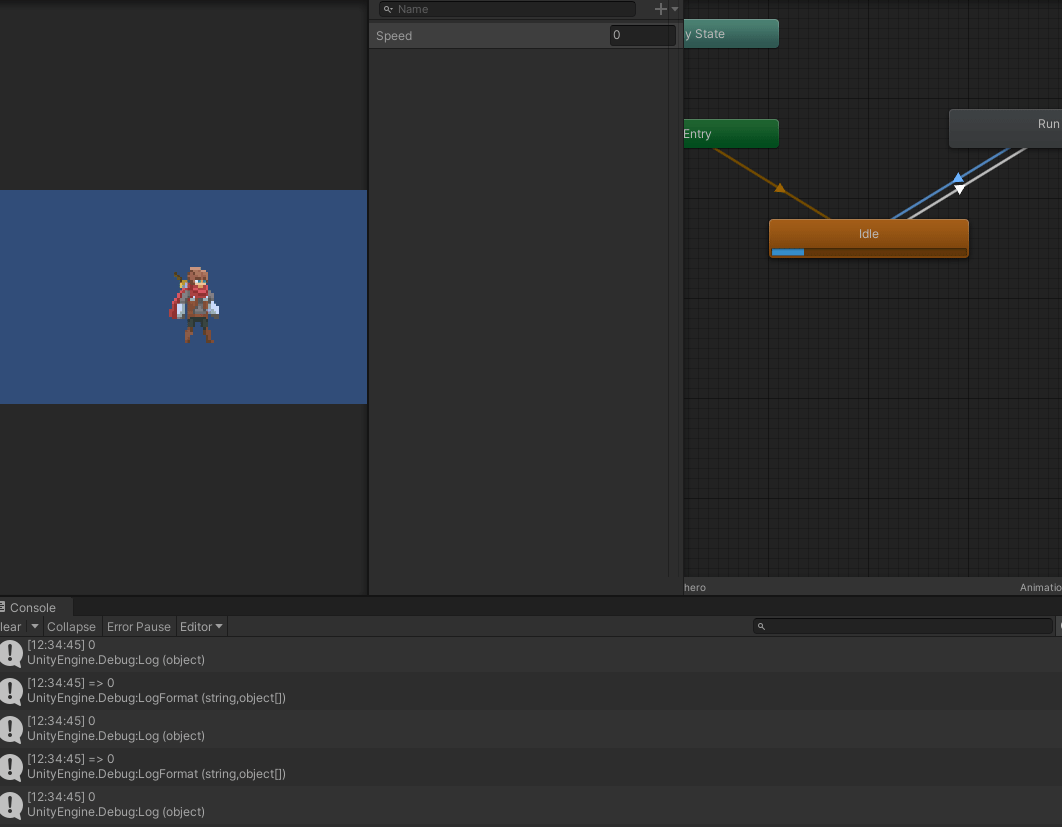
-hero 오브젝트 선택 후 create 애니메이션.
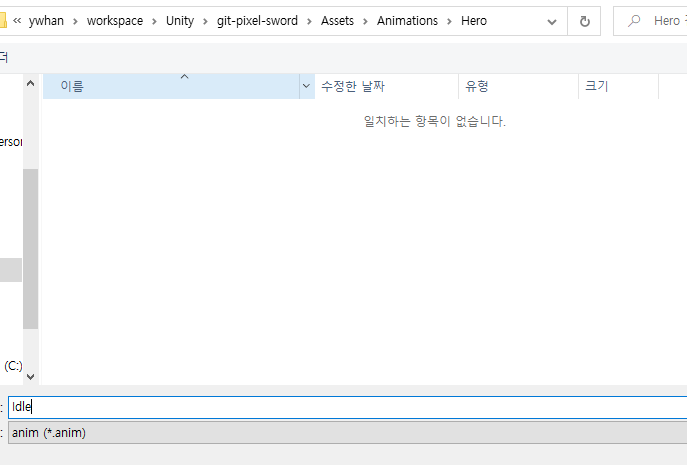
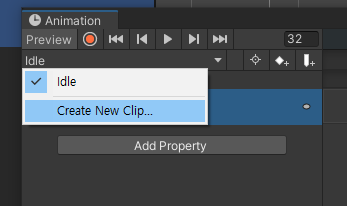
-Idle로 저장
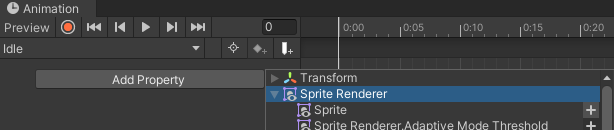
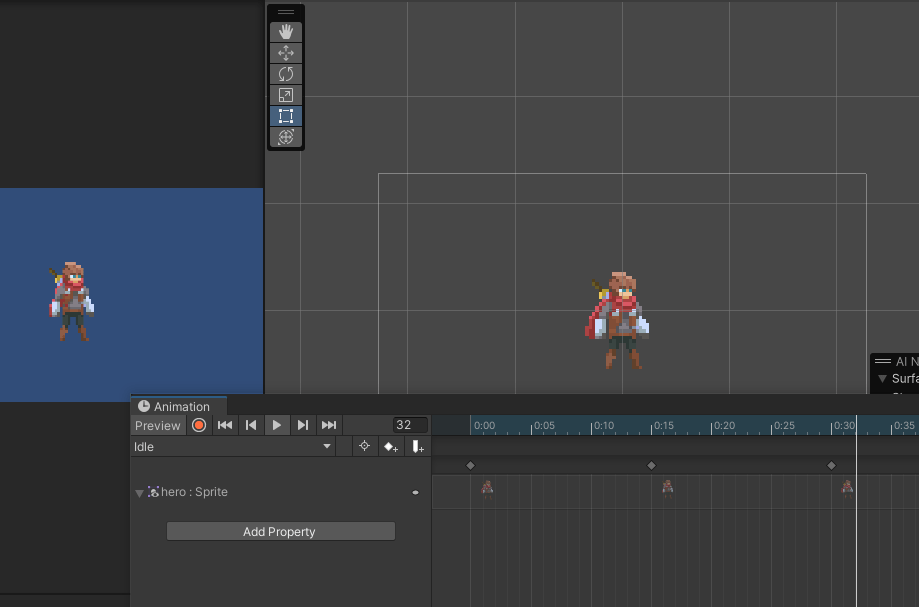
-애니메이션 생성
-다른 애니메이션 Run 추가
rigidbody를 움직이는 방법
-velocity를 직접넣기, addForce,MovePosition
1.addforce => 힘이 0이되면 멈추게 되므로 문제가 생김
using System.Collections;
using System.Collections.Generic;
using UnityEngine;
public class HeroController : MonoBehaviour
{
Animator anim;
private Rigidbody2D rBody2D;
public float moveForce = 1f;
public float moveSpeed = 1f;
// Start is called before the first frame update
void Start()
{
this.anim = GetComponent<Animator>();
this.rBody2D = GetComponent<Rigidbody2D>();
}
// Update is called once per frame
void Update()
{
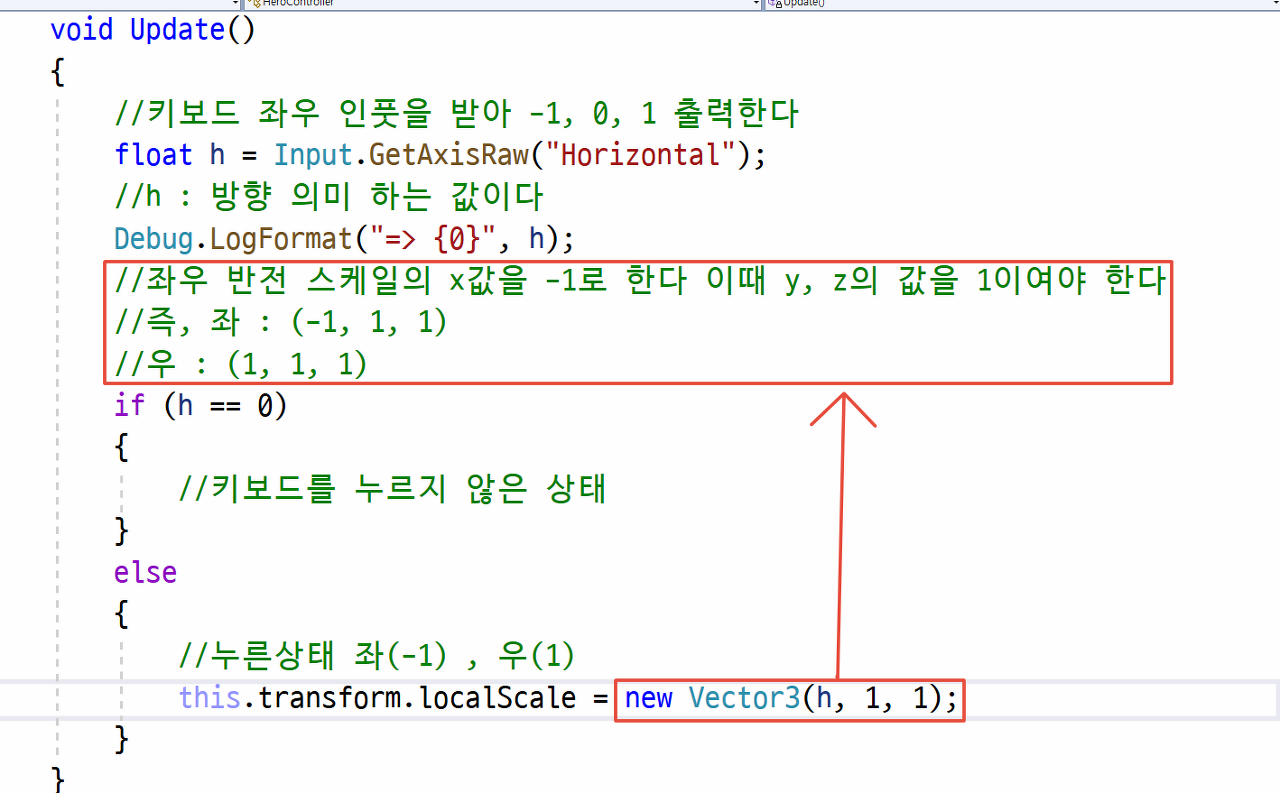
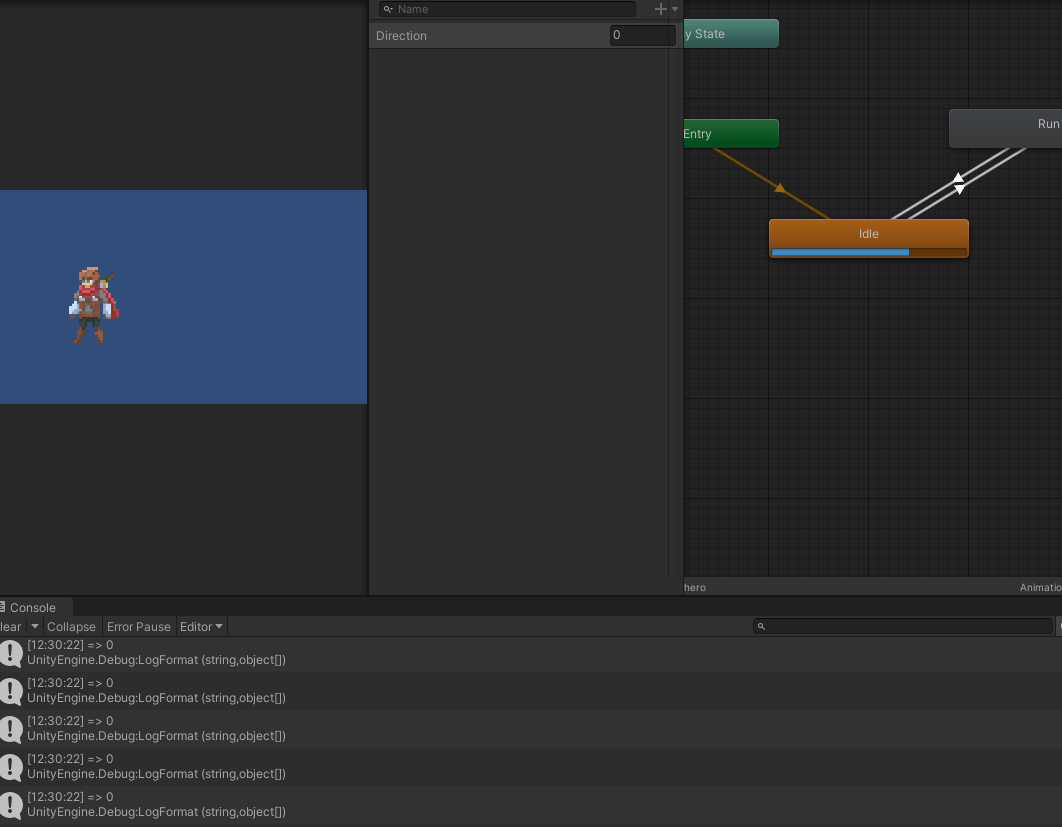
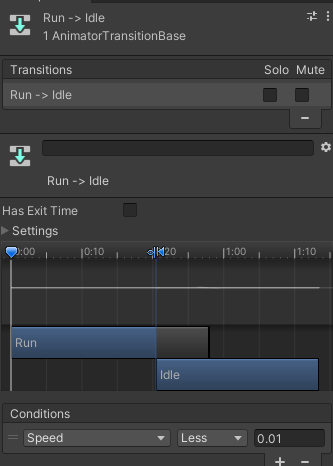
float h = Input.GetAxisRaw("Horizontal"); //-1, 0, 1
Debug.LogFormat("=> {0}", (int)h);
//좌우 반전 , 왼쪽 h값이 -1
//rigidbody로 이동하는 방법
//방향 * 힘
if (h != 0)
{
this.transform.localScale = new Vector3(h, 1, 1);//좌우반전
var force = new Vector3(h, 0, 0) * moveForce;
Debug.LogFormat("force: {0}", force); //0벡터로 민다
this.rBody2D.AddForce(force);
}
else
{
this.rBody2D.velocity = Vector2.zero; //new Vector2(0, 0, 0);
}
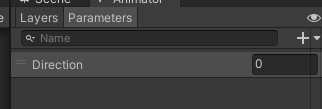
this.anim.SetInteger("Direction", (int)h);
}
}
2.=>movepositoin : 방향*속도*시간+현재나의 위치
https://docs.unity3d.com/ScriptReference/Rigidbody2D.MovePosition.html
Unity - Scripting API: Rigidbody2D.MovePosition
Moves the rigidbody to the specified position by calculating the appropriate linear velocity required to move the rigidbody to that position during the next physics update. During the move, neither gravity or linear drag will affect the body. This causes t
docs.unity3d.com
using System.Collections;
using System.Collections.Generic;
using UnityEngine;
public class HeroController : MonoBehaviour
{
Animator anim;
private Rigidbody2D rBody2D;
public float moveForce = 1f;
public float moveSpeed = 1f;
// Start is called before the first frame update
void Start()
{
this.anim = GetComponent<Animator>();
this.rBody2D = GetComponent<Rigidbody2D>();
}
// Update is called once per frame
void Update()
{
float h = Input.GetAxisRaw("Horizontal"); //-1, 0, 1
Debug.LogFormat("=> {0}", (int)h);
//좌우 반전 , 왼쪽 h값이 -1
if (h != 0)
{
this.transform.localScale = new Vector3(h, 1, 1);
}
//2번째 방법
var dir = new Vector2(h, 0);//Direction
// this.rBody2D.MovePosition(방향 * 속도 * 시간)
rBody2D.MovePosition(rBody2D.position + rBody2D.velocity * Time.fixedDeltaTime);
//현재 나의 위치 + 방향*속도*시간
this.rBody2D.MovePosition(dir * this.moveSpeed * Time.deltaTime);
var movement = dir * this.moveSpeed * Time.deltaTime;
this.rBody2D.MovePosition(this.rBody2D.position + movement);
Debug.Log(movement);
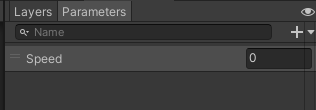
anim.SetFloat("Speed", Mathf.Abs(movement.x));
}
}
3.rigidbody에 velocity 넣어서 직접 컨트롤

using System.Collections;
using System.Collections.Generic;
using UnityEngine;

public class HeroController : MonoBehaviour
{
    Animator anim;
    private Rigidbody2D rBody2D;
    public float moveForce = 1f;
    public float moveSpeed = 1f;
    // Start is called before the first frame update
    void Start()
    {
        this.anim = GetComponent<Animator>();
        this.rBody2D = GetComponent<Rigidbody2D>();
    }

    // Update is called once per frame
    void Update()
    {

        float h = Input.GetAxisRaw("Horizontal");   //-1, 0, 1
        Debug.LogFormat("=> {0}", (int)h);
        //좌우 반전 , 왼쪽 h값이 -1
        if (h != 0)
        {
            this.transform.localScale = new Vector3(h, 1, 1);
        }

        //3번째 방법
        //velocity를 직접 변경하는 방법
        var velocityX = moveSpeed * Input.GetAxisRaw("Horizontal");
        this.rBody2D.velocity = new Vector2(velocityX, 0);//여기서는 jump안하므로 y는 0으로 처리
        Debug.Log(velocityX);
        anim.SetFloat("Speed", Mathf.Abs(this.rBody2D.velocity.x));
    }
}
'유니티 기초' 카테고리의 다른 글
| Hero Jump 예제 (0) | 2023.08.03 |
|---|---|
| rigidbody가 없을 때 이동: Translate (0) | 2023.08.03 |
| Unity-Physics,Rigidbody, 스프라이트 애니메이션, ClimbCloud 예제 (0) | 2023.08.02 |
| Unity-Prefab, 예제-랜덤한 위치에 화살생성, hp게이지 만들기 (0) | 2023.08.02 |
| Unity-Player Setting에서 Deafult Orientaiton (0) | 2023.08.02 |


