
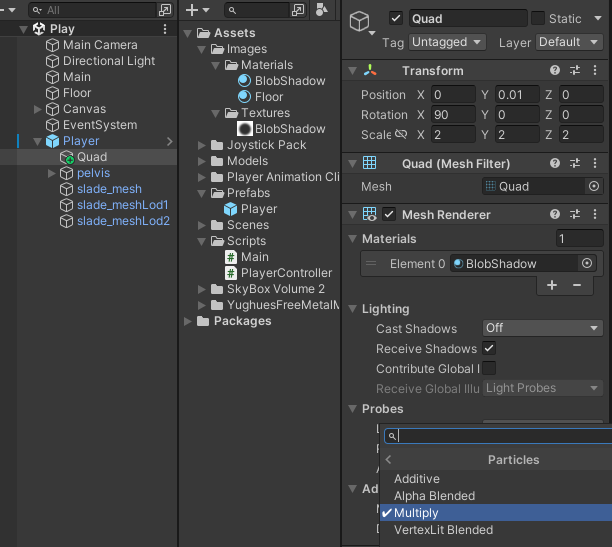
플레이어 이동 구현(키보드, 조이스틱)
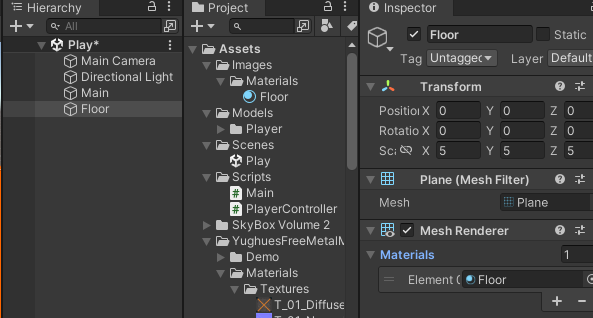
Floor Material을 만들고 Albedo에 Texture를 넣어준다.
그 후에 Floor 오브젝트를 만들어 Material을 넣어준다.

https://docs.unity3d.com/kr/560/Manual/ImportingTextures.html
텍스처 임포트 - Unity 매뉴얼
이 페이지에서는 Unity 에디터 텍스처 임포터를 사용하여 텍스처를 임포트하는 과정에 대한 자세한 내용과 팁을 설명합니다. 아래로 스크롤하여 전체 내용을 확인하거나, 아래에서 확인하고자
docs.unity3d.com

-코드수정
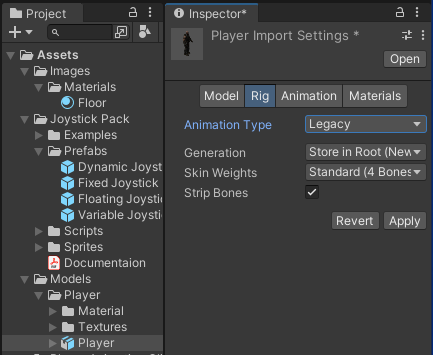
legacy animation 사용
using System.Collections;
using System.Collections.Generic;
using UnityEngine;
public class PlayerController : MonoBehaviour
{
//변수
public enum eControllType
{
Keryboad,Joystick
}
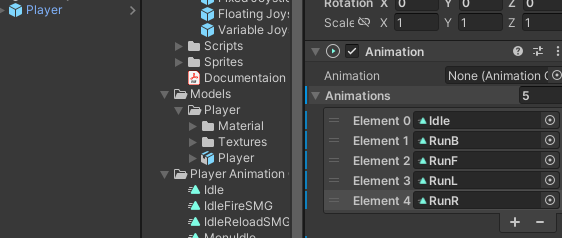
public enum eAnimState
{
Idle,RunB,RunF,RunL,RunR
}
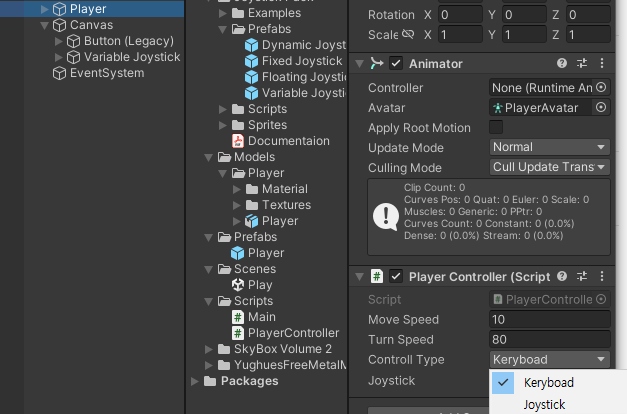
public float moveSpeed = 0.5f;//이동 속력 변수
public float turnSpeed = 50.0f;//회전 속도 변수
private Transform tr;//컴포넌트 캐시를 처리할 변수
[SerializeField]private eControllType controllType;
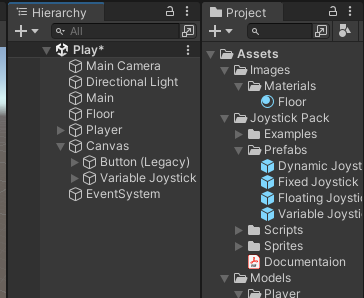
[SerializeField] private VariableJoystick joystick;
private Animation anim;
private Vector3 downPosition;
private bool isDown = false;
// Start is called before the first frame update
void Start()
{
tr = GetComponent<Transform>();//컴포넌트를 추출해 변수에 대입
this.anim = this.GetComponent<Animation>();
this.anim.Play(eAnimState.Idle.ToString());//방법1
//this.anim.clip = this.anim.GetClip(eAnimState.Idle.ToString());//방법2
//this.anim.Play();
}
// Update is called once per frame
void Update()
{
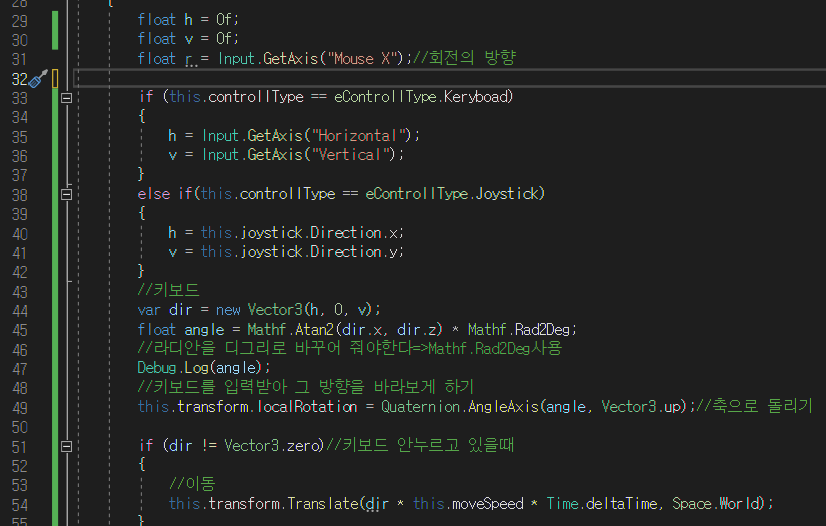
float h = 0f;
float v = 0f;
float r = Input.GetAxis("Mouse X");//회전의 방향
if (this.controllType == eControllType.Keryboad)
{
h = Input.GetAxis("Horizontal");
v = Input.GetAxis("Vertical");
}
else if(this.controllType == eControllType.Joystick)
{
h = this.joystick.Direction.x;
v = this.joystick.Direction.y;
}
//키보드
var dir = new Vector3(h, 0, v);
float angle = Mathf.Atan2(dir.x, dir.z) * Mathf.Rad2Deg;
//라디안을 디그리로 바꾸어 줘야한다=>Mathf.Rad2Deg사용
//Debug.Log(angle);
//키보드를 입력받아 그 방향을 바라보게 하기
this.transform.localRotation = Quaternion.AngleAxis(angle, Vector3.up);//축으로 돌리기
if (dir != Vector3.zero)//키보드 안누르고 있을때가 아니면
{
//이동
this.transform.Translate(dir * this.moveSpeed * Time.deltaTime, Space.World);
}
//회전
// this.tr.Rotate((회전축 * 회전의방향) * 속도 * 시간);
// this.tr.Rotate((Vector3.up * r) * turnSpeed * Time.deltaTime);
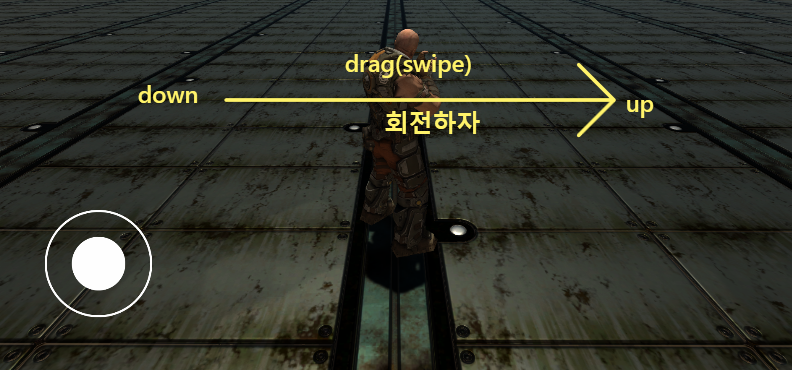
if (Input.GetMouseButtonDown(0))//마우스 누르면
{
this.isDown = true;
this.downPosition = Input.mousePosition;//마우스 눌렀을때의 위치 저장
}
else if (Input.GetMouseButtonUp(0))//마우스 떼면
{
this.isDown = false;
}
if (this.isDown)
{
if (this.downPosition != Input.mousePosition)
{
float rotDir = Mathf.Sign(r);
this.transform.Rotate(Vector3.up * rotDir * turnSpeed * Time.deltaTime);
this.downPosition = Input.mousePosition;//회전후 마우스 위치 저장
}
}
PlayerAnim(dir);//애니메이션 설정
////이동
//Vector3 moveDir = (Vector3.forward * v) + (Vector3.right * h);//전후좌우 이동 벡터계산
//this.tr.Translate(moveDir.normalized*moveSpeed*Time.deltaTime);
////Translate(이동방향*속력*Time.deltaTime);
}
private void PlayerAnim(Vector3 dir)
{
if (dir.x > 0)
{
//right
this.anim.CrossFade(eAnimState.RunR.ToString(), 0.25f);
}
else if (dir.x < 0)
{
//left
this.anim.CrossFade(eAnimState.RunL.ToString(), 0.25f);
}
else if(dir.z > 0)
{
//forward
this.anim.CrossFade(eAnimState.RunF.ToString(), 0.25f);
}
else if(dir.z < 0)
{
//backward
this.anim.CrossFade(eAnimState.RunB.ToString(), 0.25f);
}
else
{
//idle
this.anim.CrossFade(eAnimState.Idle.ToString(), 0.25f);
}
}
}'유니티 심화' 카테고리의 다른 글
| 파티클 활용, 폭발, random texture,폭발력 적용(AddExplosionForce) (0) | 2023.08.21 |
|---|---|
| 총 발사, 총알 발사 궤적 효과 만들기 - Trail Renderer (0) | 2023.08.18 |
| 카메라 이동 연습 2(draw gizmos, 선형 보간과 구면 선형 보간) (0) | 2023.08.18 |
| Player 이동 연습2(정규화 벡터) (0) | 2023.08.18 |
| 카메라 위치 조정 & Zoom In/Out (0) | 2023.08.17 |


