
[InMindVR] 프로젝트 셋팅, 장애물 피해서 이동 구현- Nav Agent


using System;
using System.Collections;
using System.Collections.Generic;
using System.Text;
using UnityEngine;
public class Player : MonoBehaviour
{
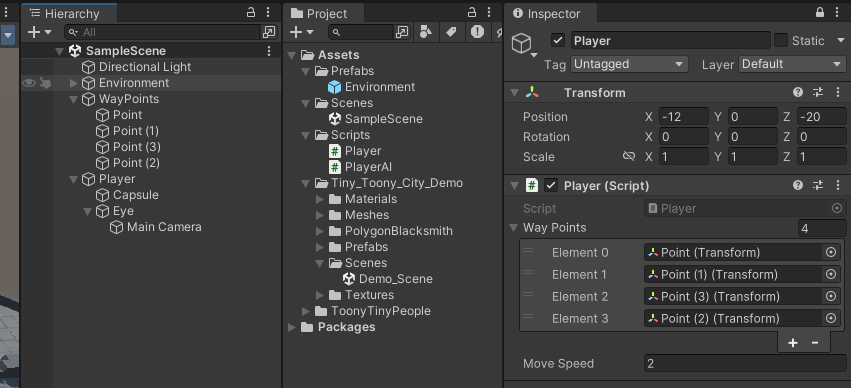
[SerializeField] private Transform[] wayPoints;
[SerializeField] private float moveSpeed = 1f;
private int idx = 0;
private Transform nextPoint;
private System.Action onMoveComplete;
private Coroutine coroutine;
private Queue<Transform> queue = new Queue<Transform>();
private Transform firstPoint;
void Start()
{
//큐에 넣기 2-3-4-1
for (int i = 1; i < this.wayPoints.Length; i++)
{
this.queue.Enqueue(this.wayPoints[i]);
}
this.queue.Enqueue(this.wayPoints[0]);
//이동 완료 대리자 메서드
this.onMoveComplete = () =>
{
//큐를 확인 하고 있으면 큐에서 하나 꺼내서 이동 계속 없으면 이동완료
if (this.queue.Count > 0)
{
this.nextPoint = this.queue.Dequeue();
this.PrintQueue();
this.Move();
}
else
{
Debug.Log("모든 이동을 완료 했습니다.");
}
};
//시작시 큐에서 하나 꺼내고
this.nextPoint = this.queue.Dequeue();
this.PrintQueue();
//이동
this.Move();
}
private void PrintQueue()
{
StringBuilder sb = new StringBuilder();
foreach (var trans in this.queue)
{
sb.AppendFormat("{0} ", trans.name);
}
Debug.Log(sb.ToString());
}
private void Move()
{
Debug.LogFormat("{0}으로 이동합니다.", this.nextPoint.name);
if (this.coroutine != null) StopCoroutine(this.coroutine);
this.coroutine = this.StartCoroutine(this.CoMove());
}
private IEnumerator CoMove()
{
while (true)
{
this.transform.LookAt(this.nextPoint);
this.transform.Translate(Vector3.forward * this.moveSpeed * Time.deltaTime);
var dis = Vector3.Distance(this.nextPoint.position, this.transform.position);
if (dis <= 0.1f)
break;
yield return null;
}
this.onMoveComplete();
}
}=> 초기 Player 스크립트
NavAI 적용하기
-Environment 오브젝트 선택후 NavMeshSurface를 추가하고 Bake해본다.


-Player 스크립트를 상속받는 PlayerAI.cs를 작성한다.
-상속받더라도 부모의 start() 는 호출되지 않으므로 player의 start에서 작성한 큐에 넣는 작업을 따로 수정하였다.
-이전 Player와 달리 장애물을 피해서 이동하는 코드이다.


using System;
using System.Collections;
using System.Collections.Generic;
using System.Text;
using UnityEngine;

public class Player : MonoBehaviour
{
    [SerializeField] private Transform[] wayPoints;
    [SerializeField] protected float moveSpeed = 1f;
    protected Transform nextPoint;
    protected System.Action onMoveComplete;
    protected Coroutine coroutine;
    protected Queue<Transform> queue = new Queue<Transform>();
    void Start()
    {
        Debug.Log("Player Start()");

        this.Init();

        //이동 완료 대리자 메서드
        this.onMoveComplete = () =>
        {
            this.MoveContinue();
        };

        //시작시 큐에서 하나 꺼내고
        this.nextPoint = this.queue.Dequeue();
        this.PrintQueue();
        //이동
        this.Move();
    }

    protected void MoveContinue()
    {
        //큐를 확인 하고 있으면 큐에서 하나 꺼내서 이동 계속 없으면 이동완료
        if (this.queue.Count > 0)
        {
            this.nextPoint = this.queue.Dequeue();
            this.PrintQueue();
            this.Move();
        }
        else
        {
            Debug.Log("모든 이동을 완료 했습니다.");
        }
    }

    protected void Init()
    {
        //큐에 넣기 2-3-4-1
        for (int i = 1; i < this.wayPoints.Length; i++)
        {
            this.queue.Enqueue(this.wayPoints[i]);
        }

        this.queue.Enqueue(this.wayPoints[0]);
    }

    private void PrintQueue()
    {
        StringBuilder sb = new StringBuilder();
        foreach (var trans in this.queue)
        {
            sb.AppendFormat("{0} ", trans.name);
        }

        Debug.Log(sb.ToString());
    }

    protected virtual void Move()
    {
        Debug.LogFormat("{0}으로 이동합니다.", this.nextPoint.name);
        if (this.coroutine != null) StopCoroutine(this.coroutine);
        this.coroutine = this.StartCoroutine(this.CoMove());
    }

    private IEnumerator CoMove()
    {
        while (true)
        {
            this.transform.LookAt(this.nextPoint);
            this.transform.Translate(Vector3.forward * this.moveSpeed * Time.deltaTime);
            var dis = Vector3.Distance(this.nextPoint.position, this.transform.position);
            if (dis <= 0.1f)
                break;

            yield return null;
        }

        this.onMoveComplete();
    }
}
using System.Collections;
using System.Collections.Generic;
using UnityEngine;
using UnityEngine.AI;
public class PlayerAI : Player
{
[SerializeField] private NavMeshAgent agent;
void Start()
{
Debug.Log("PlayerAI Start()");
//대리자 인스턴스를 생성(메서드를 연결)하고
this.onMoveComplete = () =>
{
Debug.Log("큐를 확인 하고 있으면 큐에서 하나 꺼내서 이동 계속 없으면 이동완료");
this.MoveContinue();
};
this.Init(); //웨이포인트들을 큐에 넣는다
//시작시 큐에서 하나 꺼내고
this.nextPoint = this.queue.Dequeue();
this.Move(); //이동
}
protected override void Move()
{
this.agent.SetDestination(this.nextPoint.position);
if (this.coroutine != null) StopCoroutine(this.coroutine);
this.coroutine = this.StartCoroutine(this.CoMove());
}
private IEnumerator CoMove()
{
while (true)
{
yield return null;
Debug.Log(this.agent.remainingDistance);
if (agent.remainingDistance == 0)
{
Debug.Log("이동 완료");
break;
}
}
this.onMoveComplete();
}
}vr로 빌드하기


-이제 실행시키면 alt키를 눌러 좌,우로 회전이 가능하다. ctrl은 roll이다.


-씬에 GvrEventSystem 프리팹도 추가해준다.


'vr 콘텐츠 제작' 카테고리의 다른 글
| oculus - locomotion (핸드 트래킹/ 핫스팟 텔레포트) (0) | 2023.10.31 |
|---|---|
| oculus - hand 변경하기) Custom hand (0) | 2023.10.30 |
| Oculus - Hand Grab Pose 제작하기 (0) | 2023.10.25 |
| oculus- Grab Interactions (0) | 2023.10.24 |
| oculus-meta quest 시작하기 (0) | 2023.10.19 |


